Small House Diorama

Product Description

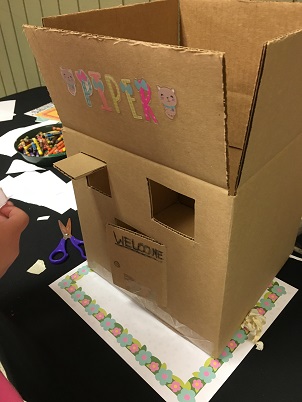
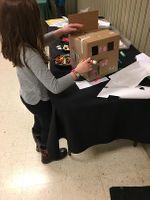
Small House Diorama Construct a mini version of any building. It may be a house, a store, an office, a factory or a farm. Each student gets a small cardboard box that already has a pre-cut door and window. Students use material from the art area and whatever else you lay out (pieces from electronic take apart? – foam scraps, egg cartons, etc.). They decorate and furnish their building in whatever way they like. We often use this activity as a prelude to Cardboard City week.
MATERIALS: 1. Small square cardboard box: small enough to be manageable on a desk or table top.
2. Box cutters
3. Art supplies
Click on the images below to see the items at Amazon. I have tried to pick links with the best value and price from Amazon but you might want to search a bit for the price and quantities that suit your needs.


How to: 1. Seal the bottom of the box but leave the top flaps open. 2. Use the box cutters to cut a door in the side of the box by cutting 3 sides of the door and scoring the side that hinges. 3. Cut one or two windows into the side. 4. Decorate your box.
How to present it to your group: 1. Make boxes and cut doors and windows before the lesson starts.
2. Spend several minutes talking about different ideas for creation and have the children come up with ideas so the whole class is excited and has direction. 3. Have students use their imagination to think of all the kinds of buildings they could create. 4. Show them ways that they might make furniture, people, pets or machines with the art supplies and material available. 5. We often do this activity as a prelude to building larger cardboard structures that the children can fit in to. 6. These dioramas can also be created around themes that your group is studying
The lesson: The construction of a diorama exercises creative art skill, engineering and planning. If you assign a theme (science, technology, historical periods, etc.) it takes on that dimension as well
